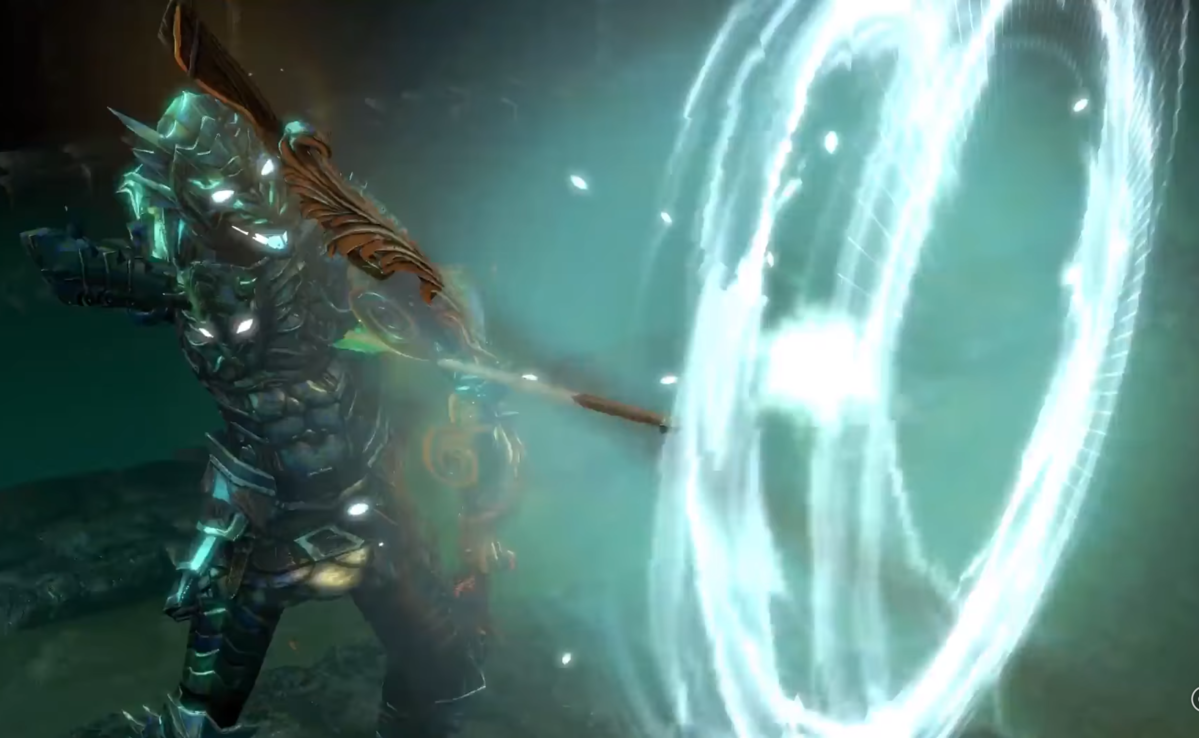

Welcome to the Lair of the Hydra tutorial! In this guide, we will go over how you can defeat the tier 16 guardian map. This boss is primarily physical and cold based with ranged attacks. Keep in mind that guardians have roughly 8 times more health than a tier 15 boss.
Fight Mechanics
The Hydra is a ranged attacker that deals a mix of physical and cold damage. Much of her damage comes from long distance. The key will be to stay as close to her as possible. However, due to the large ball cold frost bolt projectiles coming back and forth, it can be a bit tricky. The hydra has 4 moves that she will use:

Barrage → Fires a barrage attack of arrows that deal Physical and Cold Damage.
Recommendation: Move to the left, right or behind the Hydra to avoid this move.

Doom Arrow → Fires an arrow into the air and a progression of explosions will trigger in a straight line in front of her. This attack deals deadly Physical and Cold Damage, and can overlap.
Recommendation: Move to the back of the Hydra.

Fork Arrow → Charges up and fires a single arrow that forks multiple times at set distances. The charge up for this skill is depicted as a large blue sphere on top of the bow. This attack deals 300% of her base damage in the form of Physical and Cold Damage and is very deadly.
Recommendation: Move behind the Hydra or to its left or right side, as the projectile will always fire out straight from the Hydra and form heart like shape around her.
Teleport Shot → The Hydra disappears and summons minions one by one. These minions can drop cold damage Vortexes on death. Soon after the minions finish spawning, the Hydra will reappear in a random location in the arena.
Recommendation: Move to the center of the arena to kill minions as quick as possible.
In the arena, frost bolt projectiles will be fired once the battle begins.
Frost Bolts → Cold damage Frostbolts will continuously fire from the sides of the arena in a random pattern. These will begin to fire more frequently as the Hydra comes closer to death. They deal a lot of damage if you run into them.
Recommendation: These are tough to avoid, but try to shift around during the fight to avoid these from hitting you.
Preparing Against Hydra
Since the Hydra deals 50% physical and 50% cold damage, it is best to stack physical and try to stay close to the Hydra at all times. She is immune to poison, freeze, chill and knockback.
Skills and Items for Defense


If you have items that can boost max cold resistance, you will have a much easier time. Items like Loreweave or Ahn’s Heritage will be good here.


Skills such as fortify and endurance also helps with physical damage reduction. Some examples are:
- Shield Charge + Fortify + Faster Attacks
- Vigilant Strike
Flasks
Flasks are a great way to do so.

Quicksilver Flask of Heat – 40% movement speed + immunity to chill and freeze means you can quickly avoid cold vortex or any cold attacks that the Hydra does that slows you down. Over the long run, you avoid more damage taken for added mobility.

Basalt Flask – 15% physical damage reduction. It has a high charge usage, so it is only used for situations where you see Hydra’s projectile attacks coming and need that extra damage reduction.

Aquamarine Flask – This reduces the cold damage you take from the cold projectiles in the arena, allowing you tank them should you happen to be at a bad spot. Try to look for increased duration prefix.

Granite Flask – Provides flat 3000 armor that can be increased with % armor increase. Another form of mitigation.
For prefix, look for the following:
Ample – +(10 to 20) Maximum Charges. This allows you to get 1 more use if you can get max charges.
Experimenter’s – (30 to 40)% increased Duration. This actually is a life saver and improves your quality of life.
Chemist’s – (20 to 25)% reduced Charges used. Can sneak in another use on flasks like the Basalt Flask.
Dangerous Map Affixes
Since the Hydra is ranged, you want to avoid too many of these stacking together and her attacks can 1 shot you:
- Players are cursed with vulnerability (more physical damage dealt on you, fork arrows become more deadly)
- X% increased monster damage
- X% increased monster attack speed
- X% increased monster life (takes longer to kill and you get punished for making a mistake)
- Deal X% as extra fire/lightning/cold damage
- Unique bosses deal X% increased damage
- X% increased critical strike chance
- Skill chains 2 additional times
- Monsters fire 2 additional projectiles
- -X% maximum player resistances
To be on the safe side, it is best you take on this fight when you have 5500 life or 7000+ energy shield.
Fighting Guide
Before you entire the arena, open a portal so you can always come back to the fight if you die. When you enter the arena, you have about half a screen to walk before the fight gets triggered.

You will know the battle starts when cold ball projectiles start shooting from the sides. The key to taking as little damage as possible is to stay close to the hydra. The good thing is that the Hydra’s attacks have a short delay, allowing you to dodge a lot quicker if you are closer to her. The tricky part is to avoid the frost bolt projectiles while being close to her.
Upon damaging her to about 80% health, she will disappear and spawn some monsters. This is the time to recharge flask charges. She will then randomly appear anywhere in the arena. You will want to stay in the center and once you spot her appearing, quickly head over to avoid taking any ranged attacks. Even if you are a ranged character, it is still much more beneficial to be up close.
If you know you are going to get hit by the frost bolt projectiles, pop your Aquamarine flask to soak up some of the damage. Continue to run around her like a merry go round and deal damage when the opportunity presents itself.
As you take her to down to lower health, the frost bolt projectiles will start traveling quicker, making it more chaotic and harder to dodge. You will need to do enough damage to kill her before you start making mistakes and take more damage than you can handle.
Sometimes, she will also disappear again and you will need to look for her after killing the monsters that spawn in the center. Watch out for fork arrow if you can’t find her. It is the most deadly attack should you get caught at point blank range when the projectiles split.
Drops and Rewards

Fragment of the Hydra – You will always get this drop when you defeat the Hydra. It is one of the four fragments you need to open the portal to fight Shaper.


Snakepit Sapphire Ring – A decent ring if you are running builds which benefits from having more projectiles such as Magma Orb.


Silvertongue Harbinger Bow – Not a very popular bow and can be used in niche builds.


